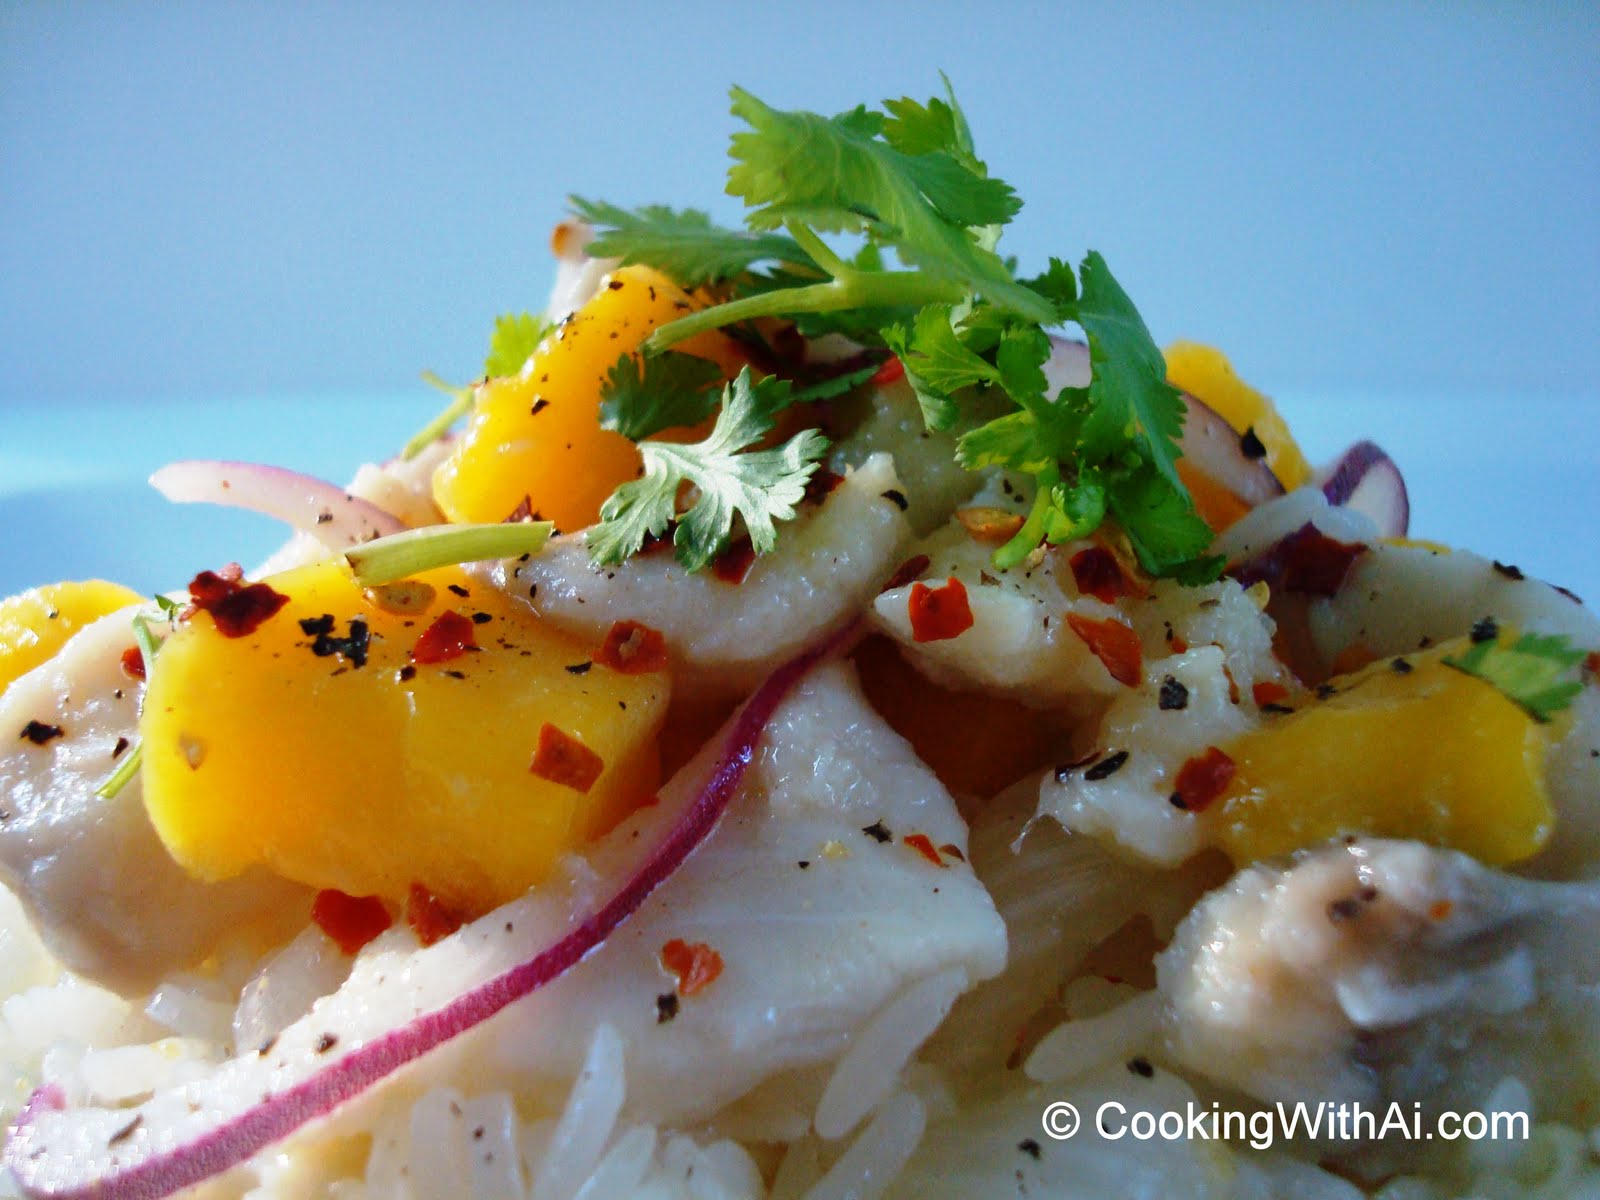
Grilled Lemongrass Chicken with Fresh Slaw
(Com Goi Ga Nuong)
Finally, the moment you've all been waiting for has arrived!
It was suggested by the boys that
Vietnamese Grilled Lemongrass Chicken with Fresh Slaw on Rice be the debut dish.
This dish is very Vietnamese, however it is very uniquely Garner. It's actually a combination of two Vietnamese dishes- Goi Ga (Shredded Cabbage Salad with Chicken) and Com Ga Nuong (Rice with Grilled Chicken).
I absolutely love eating fresh shredded cabbage. I'll find excuses to put it in anything from sandwiches to salads. Unfortunately, I couldn't get the other meat-loving members of my family on the same page. However, they sure loved my Grilled Chicken with Rice, which is served with sliced cucumbers and julienne carrots (not enough roughage in my book). So one fortunate day, I combined the two, it was a hit and we now eat this almost every week.
This works so well in so many ways it's ridiculous. First is the variety of texture. You have the crunch from the peanuts and the veggies, the soft warm stickiness from the rice and finally the chicken to top it off. Then there's the flavors! Sweet, tangy, savory, rich all in one dish.
To make life easier for you this recipe is for 10-12 servings and probably more depending on your portion size. (I have to feed my 17 yr old brother, 11 yr old son and my 6 feet tall husband. Needless to say our portions are pretty big in the Garner house!) So whatever you grill tonight, you will have extra for tomorrow's dinner where you can either do a repeat or serve this on top of rice noodles for a different meal. In fact, I marinate several nights worth and just cook two batches and freeze the rest. Can you imagine how less stressful your evenings at home would be if all you had to do is warm up the chicken, throw in some fresh veggies and serve it on rice that you had ready sitting in the rice cooker?
List of Ingredients
For the chicken:
- 30 Boneless Chicken Thighs Thawed ( I go to Costco and buy the packets of fresh boneless chicken thighs. They come in packs of six. There are five thighs in each pouch. This may sound like a lot of meat, but remember, we're making extra and thigh meat isn't as large and perfectly shaped as breast meat.)
- 1/4 Cup Lemongrass (micrograted) Use the meaty part of the stalk.
- 6-8 Cloves of Garlic (micrograted)
- 2 Tbsp Fresh Ginger (micrograted)
- 3 Tbsp Dried Onion Flakes
- 3 Tbsp Garlic Powder
- 1/2 Cup Sugar
- 1/2 Cup Fish Sauce
- 1/2 Cup Honey
- 1/4 Cup Sesame Oil
For the slaw:
- 1/2 Green Cabbage
- 1/4 Red Cabbage
- 3 Carrots
- 1 Cucumber
Vietnamese Fish Sauce Vinaigrette: (This will last you a while.)
- 1 Cup Fish Sauce
- 1 1/4 Cup Vinegar (White or Apple Cider)
- 1 Cup Water
- 2 Cups Sugar
Put everything together and stir until sugar dissolves. I mix this in a liquid measuring cup with a spout and then just pour into an empty fish sauce bottle.
Toppings:
- Crushed Peanuts
- Cilantro
- Fried Shallots (you can find this at any Asian store)
- Sauteed Scallions
STEP 1: RICE- Cook rice in
rice cooker. I usually put 3 cups of rice in our cooker and have it cooking while I work on the rest of dinner.
STEP 2: MARINADE- Preheat oven to 450. Combine marinade ingredients in a large bowl. Stir well. Then add meat, stir a few times to coat evenly and let it sit for a few minutes while you work on the veggies and fish sauce.
STEP 3: VEGGIES- Thinly slice cabbage with a
mandoline slicer. Then switch to the julienne blade and julienne the carrots and cucumbers. You want everything to be nice and thin, but not paper thin. Toss veggies in a bowl and set aside. Next, rinse cilantro and spin dry in
salad spinner.
STEP 4: COOK MEAT- Stir meat a few more times. Spray a generous amount of nonstick spray on a
stainless steel skillet.. Brown the chicken on both sides on medium high heat. The results you're looking for is somewhere in between browned and blackened. Then place the skillet in the oven for 10-12 minutes. This is how I cook most of my Vietnamese BBQ meats. Grilling for the entire time just makes it too dry and the carmelization you're trying to achieve just turns into char due to the type of marinade. (Plus, I don't have the time to stand over anything and babysit it.) While chicken is in the oven, get started on the toppings.
STEP 5: TOPPINGS- Chop up a bunch of scallions, place in a bowl, sprinkle some salt, then generously spray a non-stick spray over it and stir. Cover with a napkin and place in microwave for 30-60 seconds. Scallions should look green and soft when you're done. (If I'm pressed for time, I just take my shears and cut up a bunch and use them fresh. There's very little difference in taste.) Finally, chop up some peanuts in your
mini chopper. (If you love Asian cuisine, you had best invest in a chopper now and ALWAYS have crushed peanuts sitting in it!)
STEP 6: PLATING- Once the chicken is done, take it out and let it sit for a few minutes while you start plating. Here's the order for layering:
- Rice- on the bottom
- Scallions- a thin layer on top of the rice
- Fresh slaw- a generous handful
- Chicken Strips- Use kitchen shears and get a nice clean cut minus the dirty chopping board.
- Peanuts
- Cilantro- Make sure it's dry. Bunch it up with your hands and cut with shears.
- Optional: Fresh cut chilli peppers, fried shallots or Sriracha ( aka Vietnamese Ketchup).
I can't tell you enough how loved this recipe is in our home. Always have some fresh slaw, fish sauce and peanuts handy. If you do, dinner is only 15-20 minutes away.
NOTES:
- Lemongrass: This is the secret to making the meat stand out. I even throw in a few extra slivers right before I toss the chicken in the skillet.
- Fish Sauce: I always make mine strong so the boys don't end up consuming it all in one sitting. Yes, this has happened many many times. They would sip it as soup if you let them! Once you've made it, you can customize according to your taste buds.
- Non-Stick Spray: I use this 99.9% of the time. You really don't need oil to cook. Plus, think of all the calories you shave by doing this!
- Storing Veggies: Make sure you eat whatever cucumbers you slice. Sliced/julienne cucumbers go bad fast. So make sure to not store it with your sliced cabbage and carrots, which hold very well for several days in the fridge.
I'm so excited about having others duplicate this dish! Please let me know how this turns out for you!